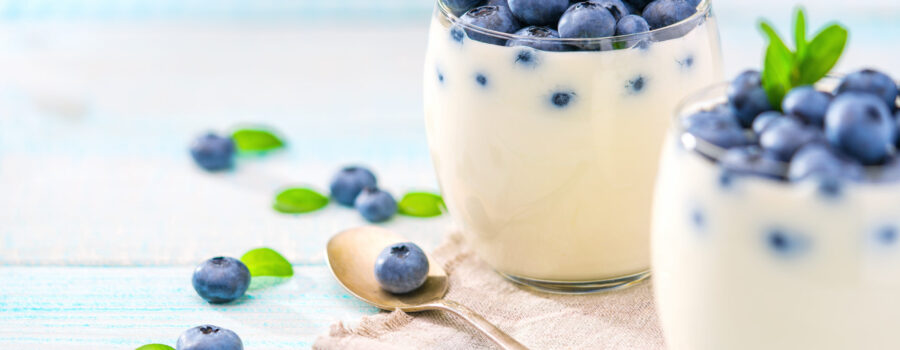
Make it yourself to ensure the cultures and levels of probiotics you receive. See the recipe below.
Ingredients:
- 1 quart (4 cups) of milk (whole, 2%, or skim)
- 1/4 cup of plain yogurt with live active cultures (make sure it contains active cultures in the ingredients)
Equipment:
- Large pot
- Thermometer
- Whisk
- Glass jars or containers with lids
- Heating pad or warm spot in your home
Instructions:
- Heat the milk: Pour the milk into a large pot and heat it over medium heat, stirring occasionally, until it reaches 180°F (82°C). This process will kill any unwanted bacteria and help to create a thicker yogurt.
- Cool the milk: Remove the pot from heat and let the milk cool to 110°F (43°C). You can speed up the cooling process by placing the pot in a sink filled with cold water.
- Add the yogurt: Once the milk has cooled, whisk in 1/4 cup of plain yogurt with live active cultures until it’s fully combined.
- Pour the mixture into jars: Pour the mixture into glass jars or containers with lids. Cover the jars with lids.
- Incubate the yogurt: Place the jars in a warm spot in your home, or on a heating pad set to low, and let them sit undisturbed for 8-12 hours. The longer you let it sit, the thicker and tangier the yogurt will become.
- Chill the yogurt: After incubating the yogurt, place the jars in the refrigerator to chill for a few hours before enjoying.
- Optional: Strain the yogurt to make it thicker. You can use a cheesecloth or a coffee filter to strain the yogurt for a few hours or overnight.
To control the probiotic counts in your yogurt:
- Use a yogurt starter with live active cultures: When making yogurt, it’s important to use a starter culture that contains live active cultures of beneficial bacteria, such as Lactobacillus bulgaricus and Streptococcus thermophilus. These bacteria will ferment the lactose in the milk, producing lactic acid, which gives yogurt its characteristic tang and thick texture.
- Control the temperature: The temperature of the milk during the incubation period will affect the growth of the bacteria. Ideally, you should aim for a temperature of around 110°F (43°C) for the yogurt to incubate. If the temperature is too low, the bacteria won’t grow properly, and if it’s too high, it can kill off the bacteria.
- Incubate for the right amount of time: The longer you incubate the yogurt, the more sour it will become, and the more bacteria will grow. However, if you incubate it for too long, the yogurt can become too sour and runny. Aim for an incubation time of 8-12 hours, depending on your desired level of tartness and thickness.
- Strain the yogurt to increase the probiotic count: If you strain your yogurt using a cheesecloth or coffee filter, you can increase the probiotic count by removing some of the whey, which is the liquid portion of the yogurt. This will result in a thicker and creamier yogurt with a higher concentration of beneficial bacteria.
- Store the yogurt properly: After incubating and straining the yogurt, store it in the refrigerator to slow down the growth of bacteria. This will help to maintain the probiotic count and prevent the yogurt from becoming too sour. Be sure to consume the yogurt within 7-10 days to ensure the highest quality and probiotic count.
Making your own yogurt at home is a healthy and cost-effective way to enjoy this delicious dairy product. Homemade yogurt is also a great source of probiotics, which are live microorganisms that are beneficial to your gut health.
By making your own yogurt at home, you can control the quality and probiotic count of your yogurt, and avoid the added sugars and preservatives found in many store-bought brands. Plus, it’s a fun and easy DIY project that can be enjoyed by the whole family.
When making yogurt at home, be sure to use fresh, high-quality milk and a starter culture with live active cultures. You can experiment with different types of milk, such as whole, 2%, or skim, and add in flavorings like honey, vanilla, or fruit.
To enjoy your homemade yogurt, simply eat it on its own or use it in your favorite recipes, such as smoothies, dips, dressings, or baked goods. You can also top it with granola, nuts, or fresh fruit for a healthy and satisfying snack.
When you want to take this to the next level making this process easier, click below to purchase the best equipment to do so, and always have your favorite probiotic the way you like it in the house.
Yogurt Maker Digital and Automatic


Leave a Reply
Your email is safe with us.